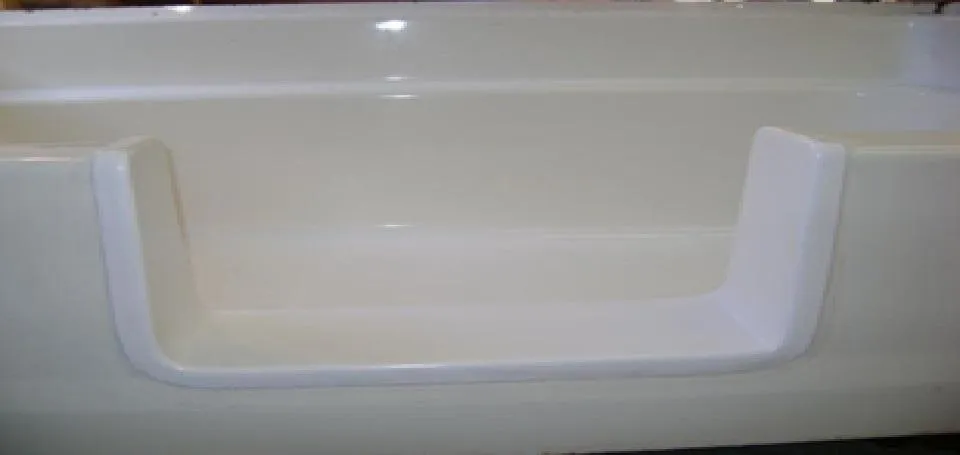
These instructions are for the installation of an
EZ-In Tub Saddle and for the installation of an EZ-In Tub Reversal Part.
Read the instructions first before beginning.
SAFETY FIRST
These are Do-It-Yourself projects. If at any time you feel this project is more complicated than originally anticipated, we strongly suggest you visit our Resources Page and find an installer in your area.
Prepare the tools and the area before starting this or any project. Read through the instruction first, before beginning any work. Be sure to maintain a clean, safe work area and always wear eye protection.
Tumbleweed Fiberglass cannot be held responsible for any errors you make or any injuries you sustain. If you are uncertain of your skills, call a professional.
Installing an EZ-In Tub Saddle
Included in the kit:
EZ-In Tub Saddle
Template
CAUTION
Metal tubs are more difficult than fiberglass tubs to cut.
Use a drill to determine the thickness of tub to decide on the right tool for cutting the tub. The thicker the metal, the longer it will take to cut out.
Tumbleweed Fiberglass is not responsible for using the wrong tools or making incorrect cuts.
Our warranty is on the part only. We cannot warranty your work or the work of anyone you hire. Pre-Drilled Rails have Sharp edges. May cause cuts. Wear leather gloves when handling.
Additional Tools Needed:
Black Felt Marker
Drill
Saber Saw, Grinder, Saws All, or Cut off Saw
Fine tooth blade for saber saw
Waterproof Silicone Adhesive - we recommend using an aquarium silicone
Calking and Calking Gun
2x4 wood pieces - for support
Masking tape for metal with porcelain overlay tub
Dust mask
Plastic and tape to mask off bathroom to keep dust down
Installation
1) Place fiberglass template over bathtub at the center of the tub as originally measured.
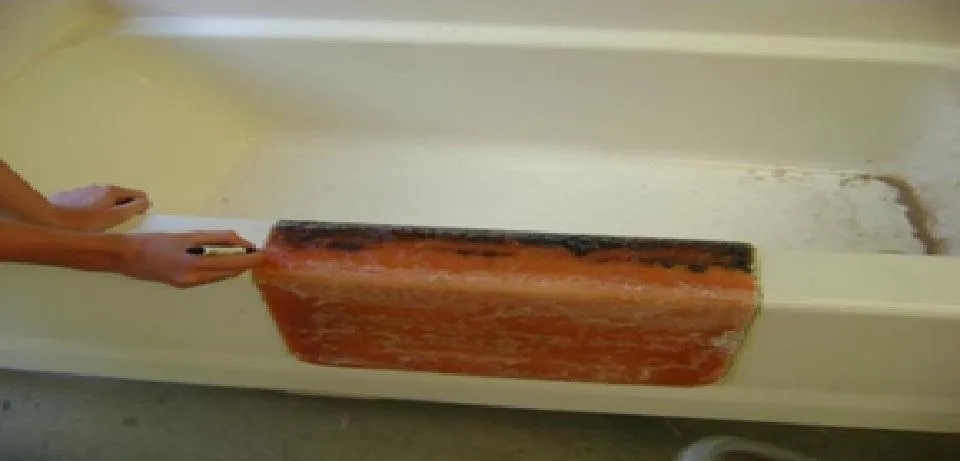
2) Using a black felt marker, trace around the template onto the tub. Stay as close to the edge of the template as possible.
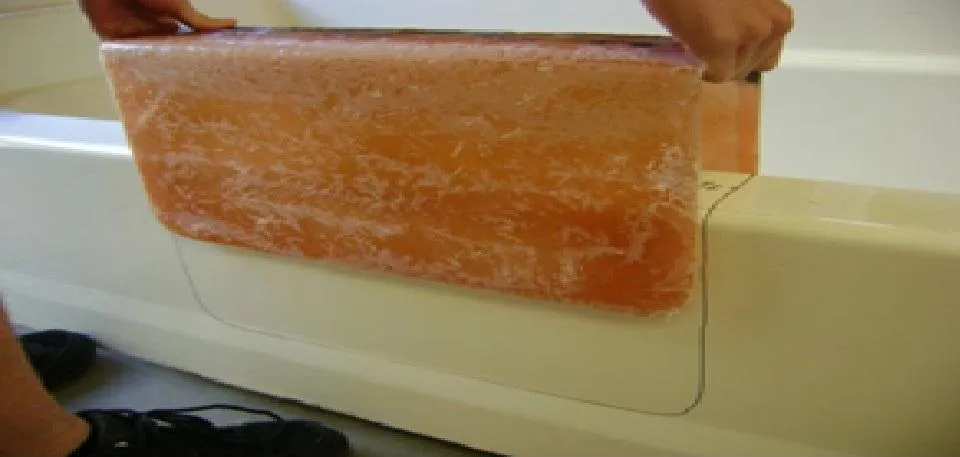
3) Remove the template and save it in case needed later.
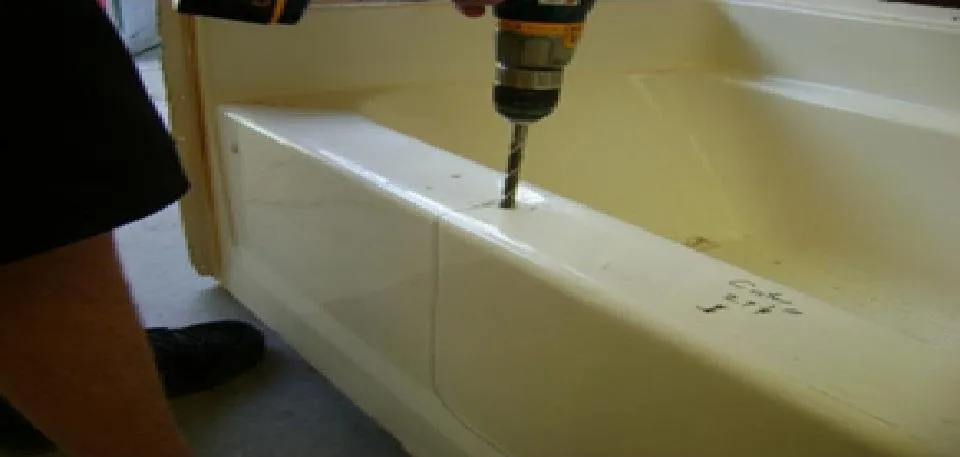
4) Wearing a dust mask, drill a hole on the edge of the black line at the top. Take an electric3 Columnal saw and cut the bathtub along the line. Cut carefully along the line, cleaning as you go. Save the piece you cut out.
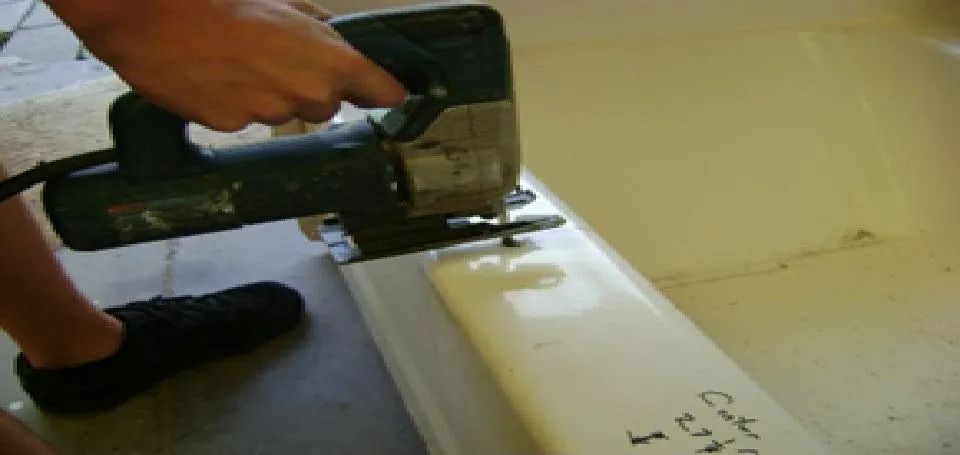
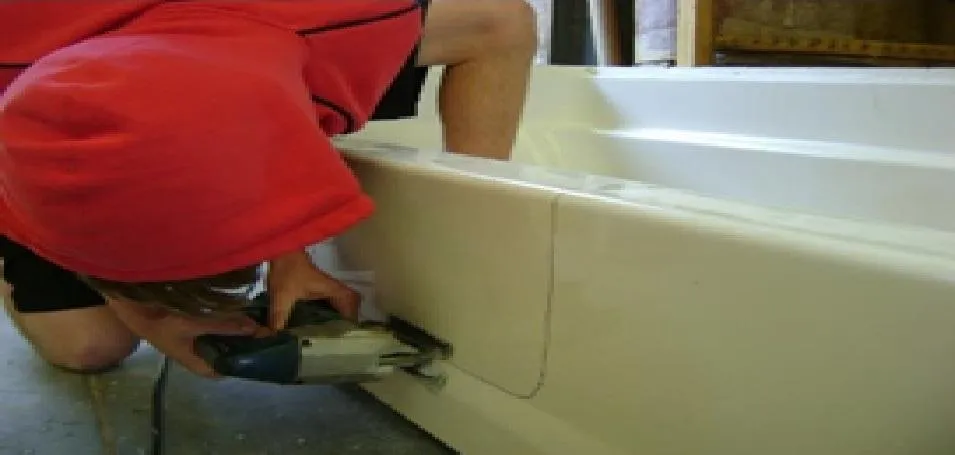
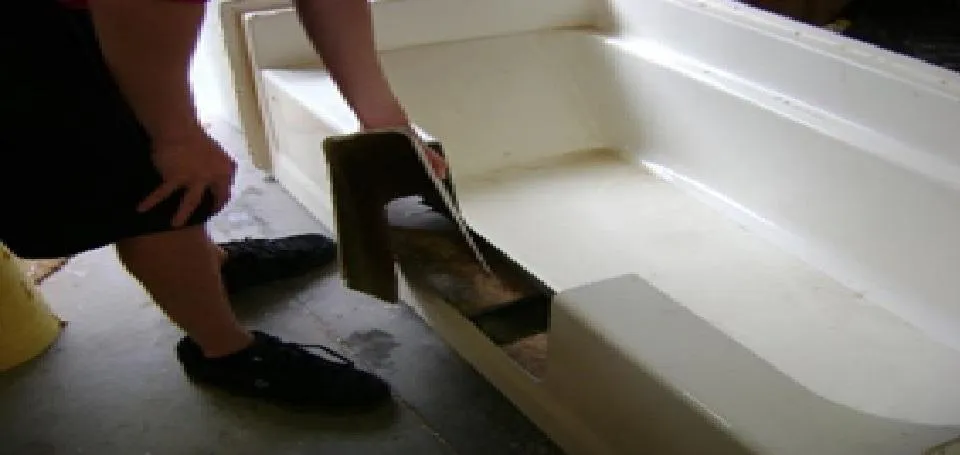
5) For metal bathtubs with porcelain overlay, use masking tape along the cutting edge to minimize chipping.
6) You may need to place 2 x 4 wood and wood shims in the bottom opening to give support. Use construction adhesive to keep in place. Be sure to measure to for the appropriate amount of wood for support.
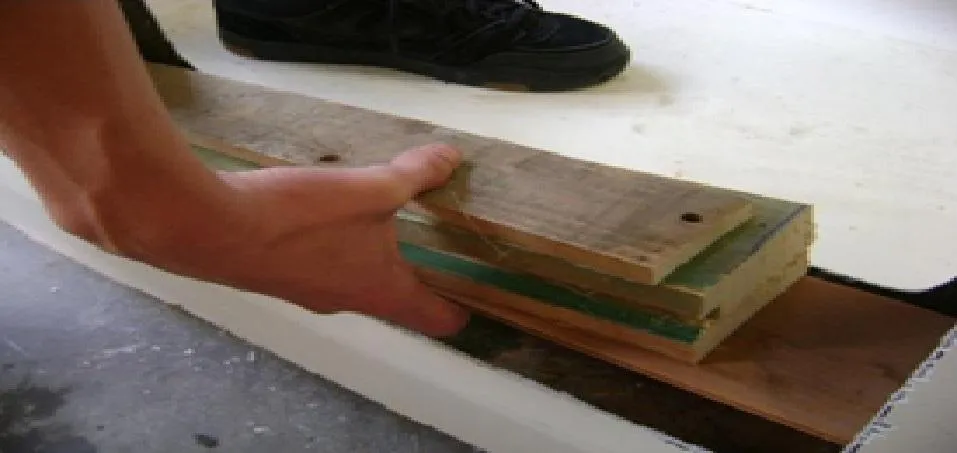
7) Place the insert into the cut-out space to verify the fit. Use wood to widen or narrow the opening a needed. You can call us for instructions.
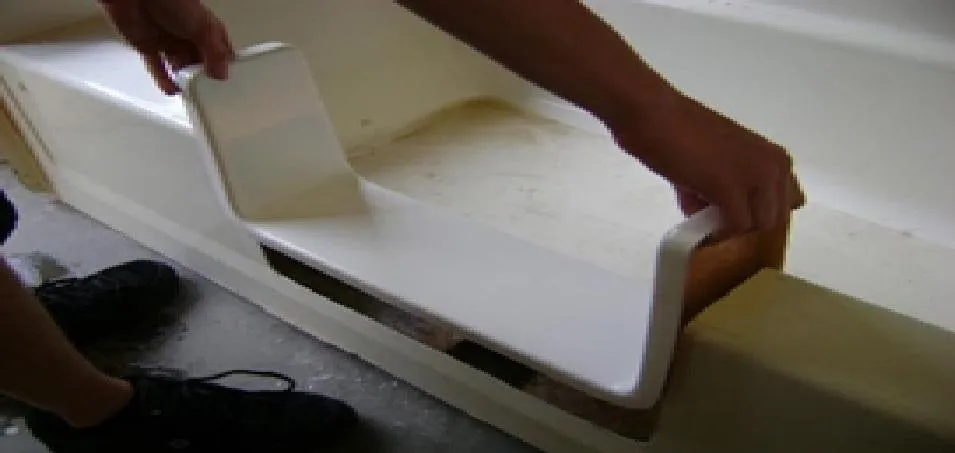
8) Remove the inset piece and clean all sides of the bathtub opening with rubbing alcohol.
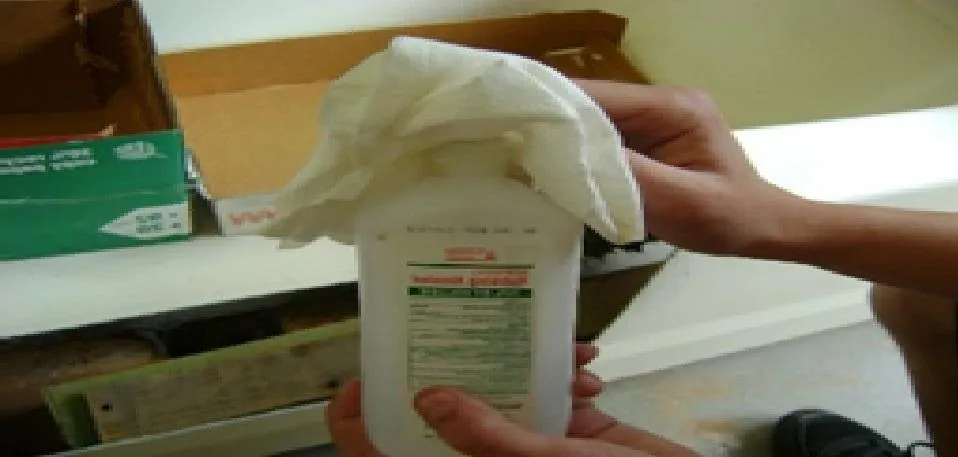

9) Apply waterproof silicone adhesive to the underside of the insert along the edges that touch the bathtub. (Follow application instructions on the adhesive tube)
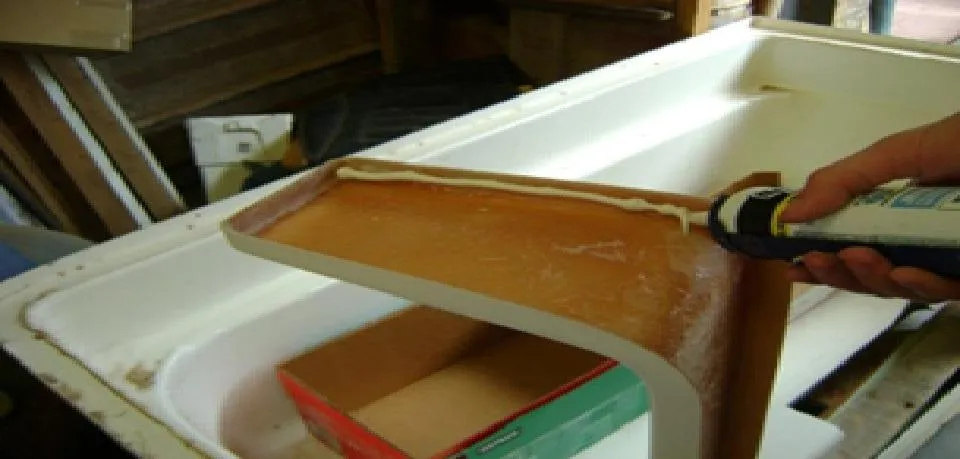
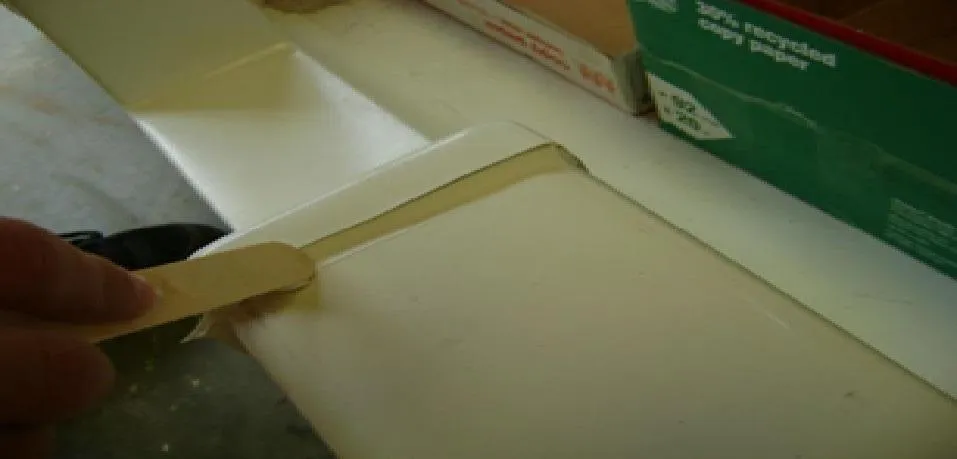
10) Set the Step-Through Tub insert in place. Use a popsicle stick to smooth the adhesive that squeezes out.
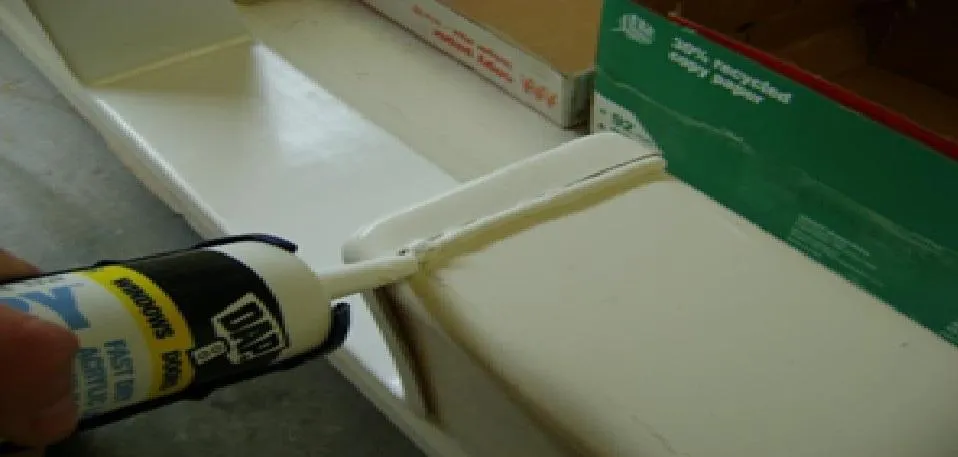
11) Apply caulking or use the adhesive as a calking.
Installing an EZ-In Tub Reversal Part
Included in the kit:
EZ-In Tub Reversal Part
3 Pre-drilled rails
14 Pop rivets
CAUTION
Pre-Drilled Rails have sharp edges. May cause cuts. Wear leather gloves when handling.
Additional Tools Needed:
Rubbing Alcohol
Marking pencil
Combination square
Pop rivet gun
Saber saw and a fine-tooth blade
Drill with 1/8” drill bit
Waterproof Silicone Adhesive - we recommend using an aquarium silicone
Calking and Calking Gun
Installation
1) Make a Cardboard template. Hold a piece of cardboard on the inside of the tub and draw an outline of insert on the cardboard. Mark the cardboard, with Top, Bottom, Left, Right, Inside, and Outside. Cut the cardboard piece along the line drawn.
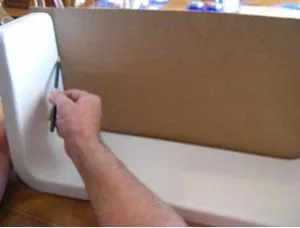
2) Set template on the Reversal Part. Draw a line on the Reversal Part. Be sure to mark the piece on the top and reverse side.

3) Use a short fine-tooth blade on a saber saw and cut out the Reversal Part on the markings you made in step 2.
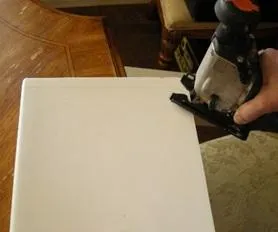
4) After cutting out the Reversal Part, do a test fit.
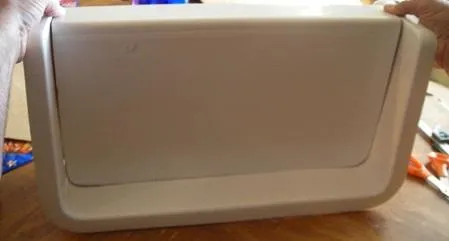
5) Installing the Rails. While test fitting the Reversal Part inside the saddle, draw a line, with a pencil, along one side of the saddle on the side and bottom to mark where the Reversal Part is to fit in.
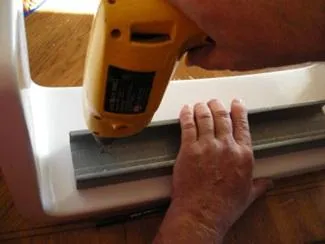
6) Line up rail with the pencil line. Using a 1/8” Drill Bit hold the rail and drill through the 6 predrilled holes on the bottom rail and the 4 predrilled holes on each of the side rails into the bathtub insert. Be very accurate with these holes so they line up later. Take caution when handling Rails as they can be sharp and cause injury.
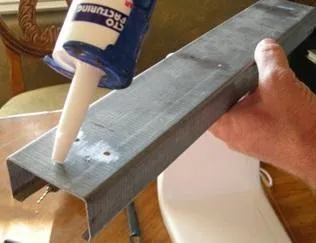
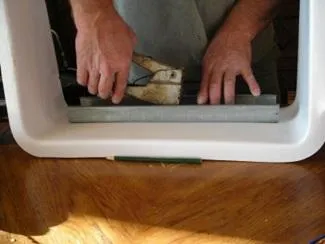
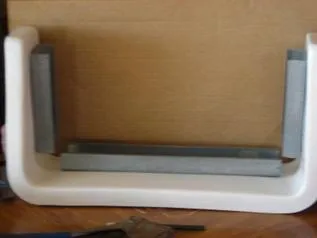
7) Clean all surfaces that will come in contact with the silicone with rubbing alcohol. This prevents leakage of silicone and helps the parts to adhere better.
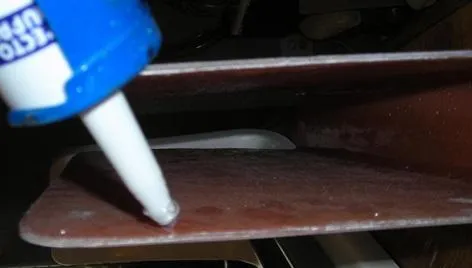
8) After drilling the holes, apply a few lines of high-quality silicone along the bottom of the galvanized rails. While the silicone is wet, line the rails up with the holes you drilled on the insert.
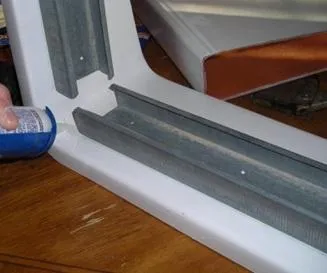
9) After lining up the rails pop rivet the rails in place. All rails should be even with the lines you drew earlier. Do one final test fit of the reversal piece over the rails before continuing to the next step.
10) Now that the railing is in place, install a good quantity of silicone where the rail meets the insert, along the rail and between the rails along the line previously drawn.
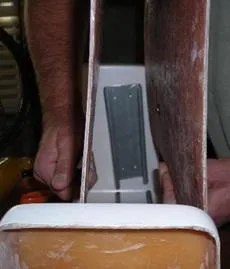
11) Install a line of silicone on the inside edges of the reversal piece.
12) Take the reversal piece and spread apart so that you can slide it over the rails.
13) Let the piece sit for 24 hours for silicone to completely dry. After dry, apply calking on outside of both sides of Reversal Part for a finished look.
